
Instructions

Qeera Nails – Your Elegant Guide to the Perfect Application & Removal
Whether you're a beginner or a pro, this tutorial will guide you to flawless results while keeping your natural nails safe and healthy.

Application Guide
Step 1
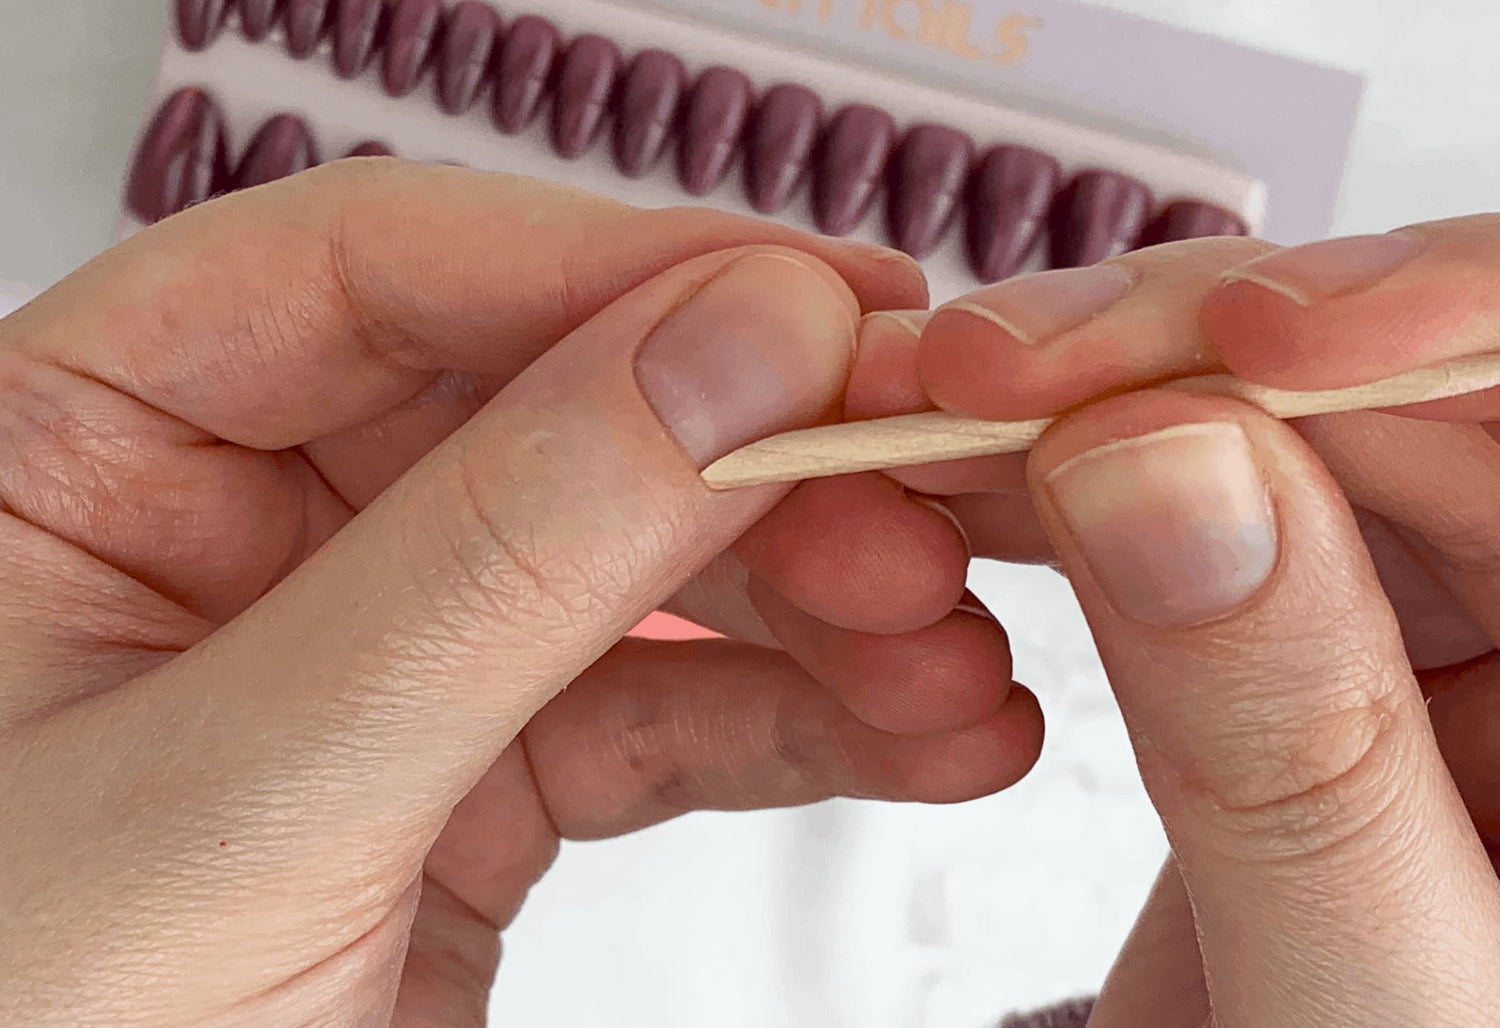
Prepare Your Natural Nails
Thoroughly wash your hands and nails.
Gently push back your cuticles using the provided stick for a clean base.
Step 2
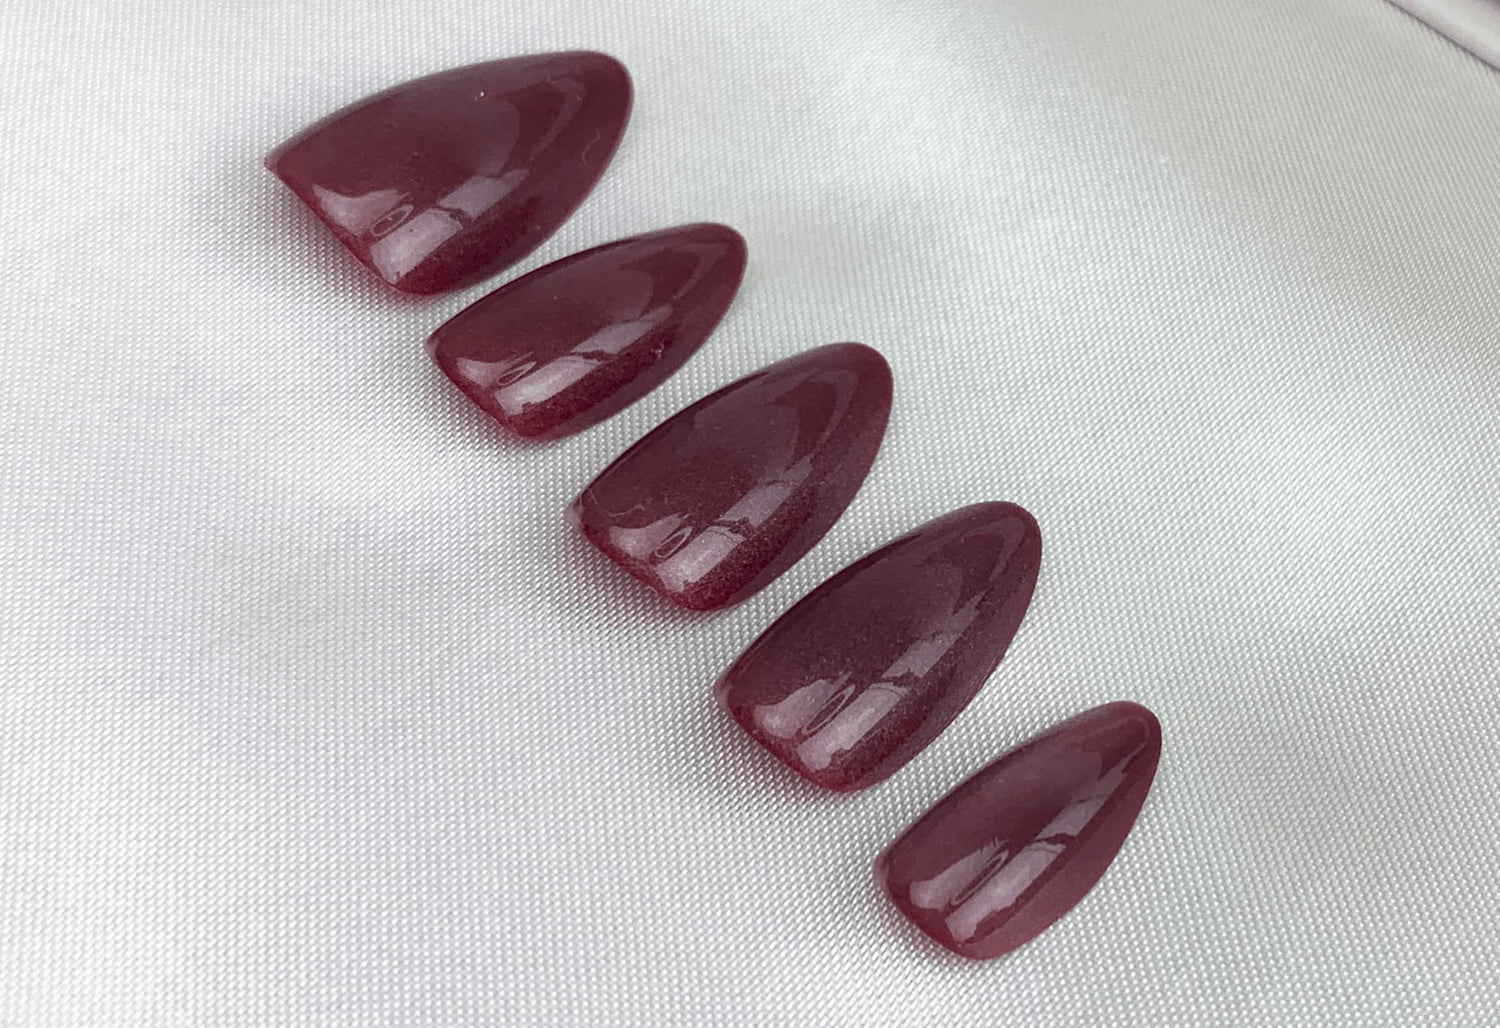
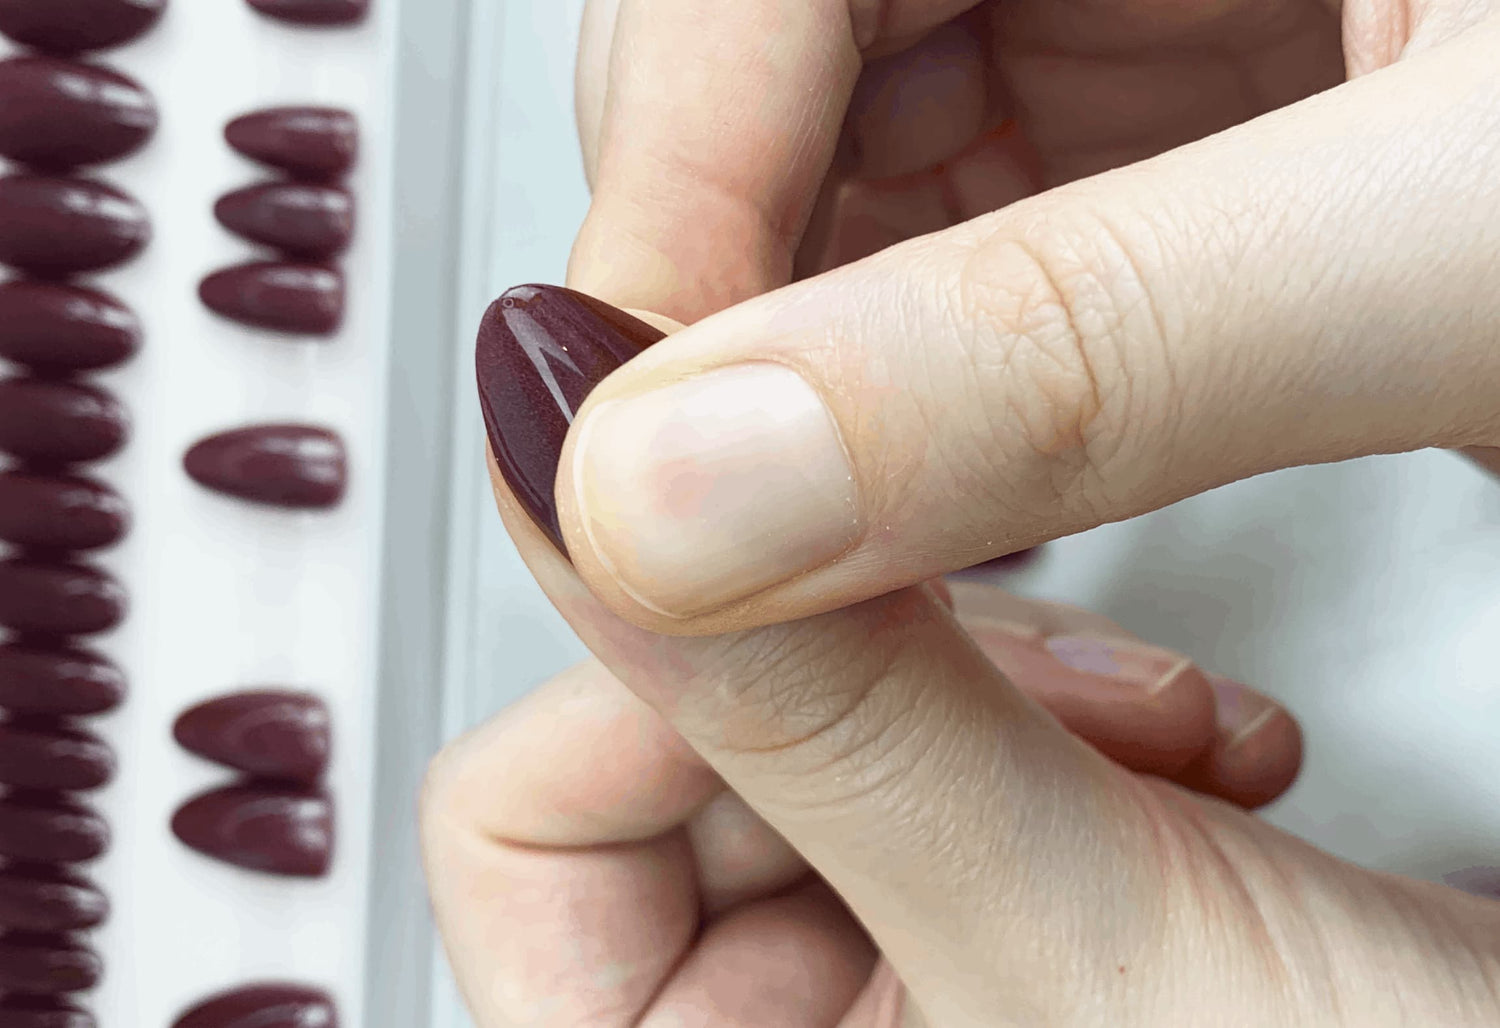
Select Your Sizes
Choose the perfect size for each nail. (If needed, lightly file the sides for a perfect fit).
If your natural nails are very flat, gently flatten the Press-On before application.
🪄 Pro Tip: Once all sizes are selected, lay them out in order for easy application.
🪄 Pro Tip: If you're between two sizes, opt for the slightly larger one. You can easily file the sides to achieve a flawless fit.
Step 3
Prepare the Surface
Lightly buff the surface of your natural nails to create a slightly rough texture. (This helps improve adhesion)
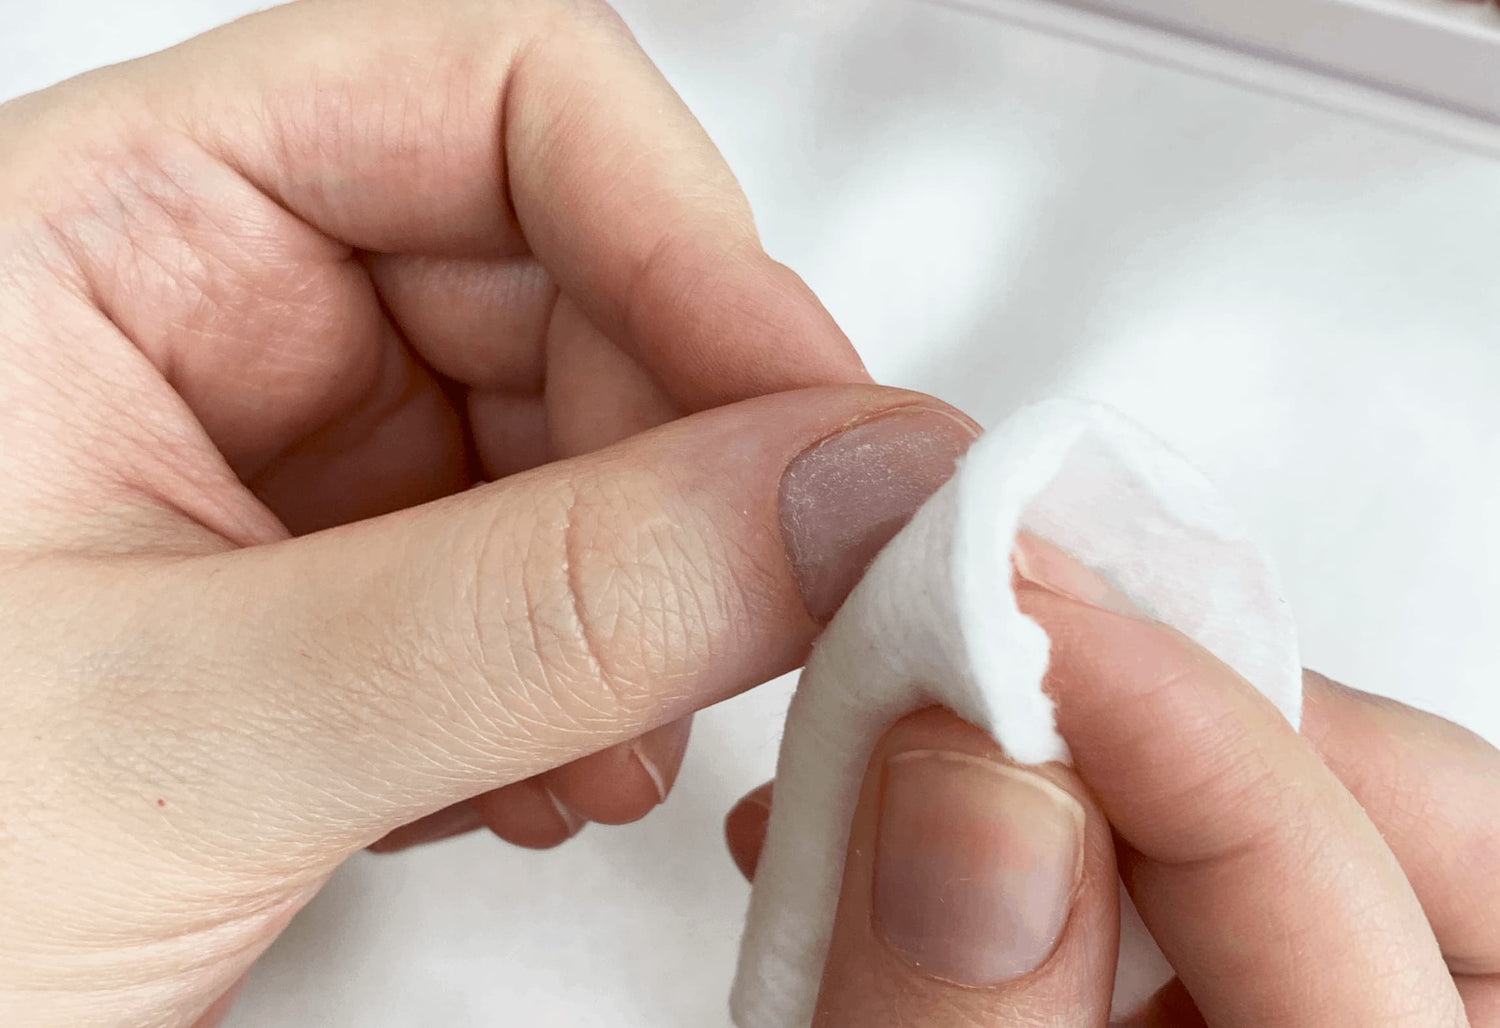
Remove any dust and wipe your nails with alcohol to ensure a dry, clean surface.
Step 4
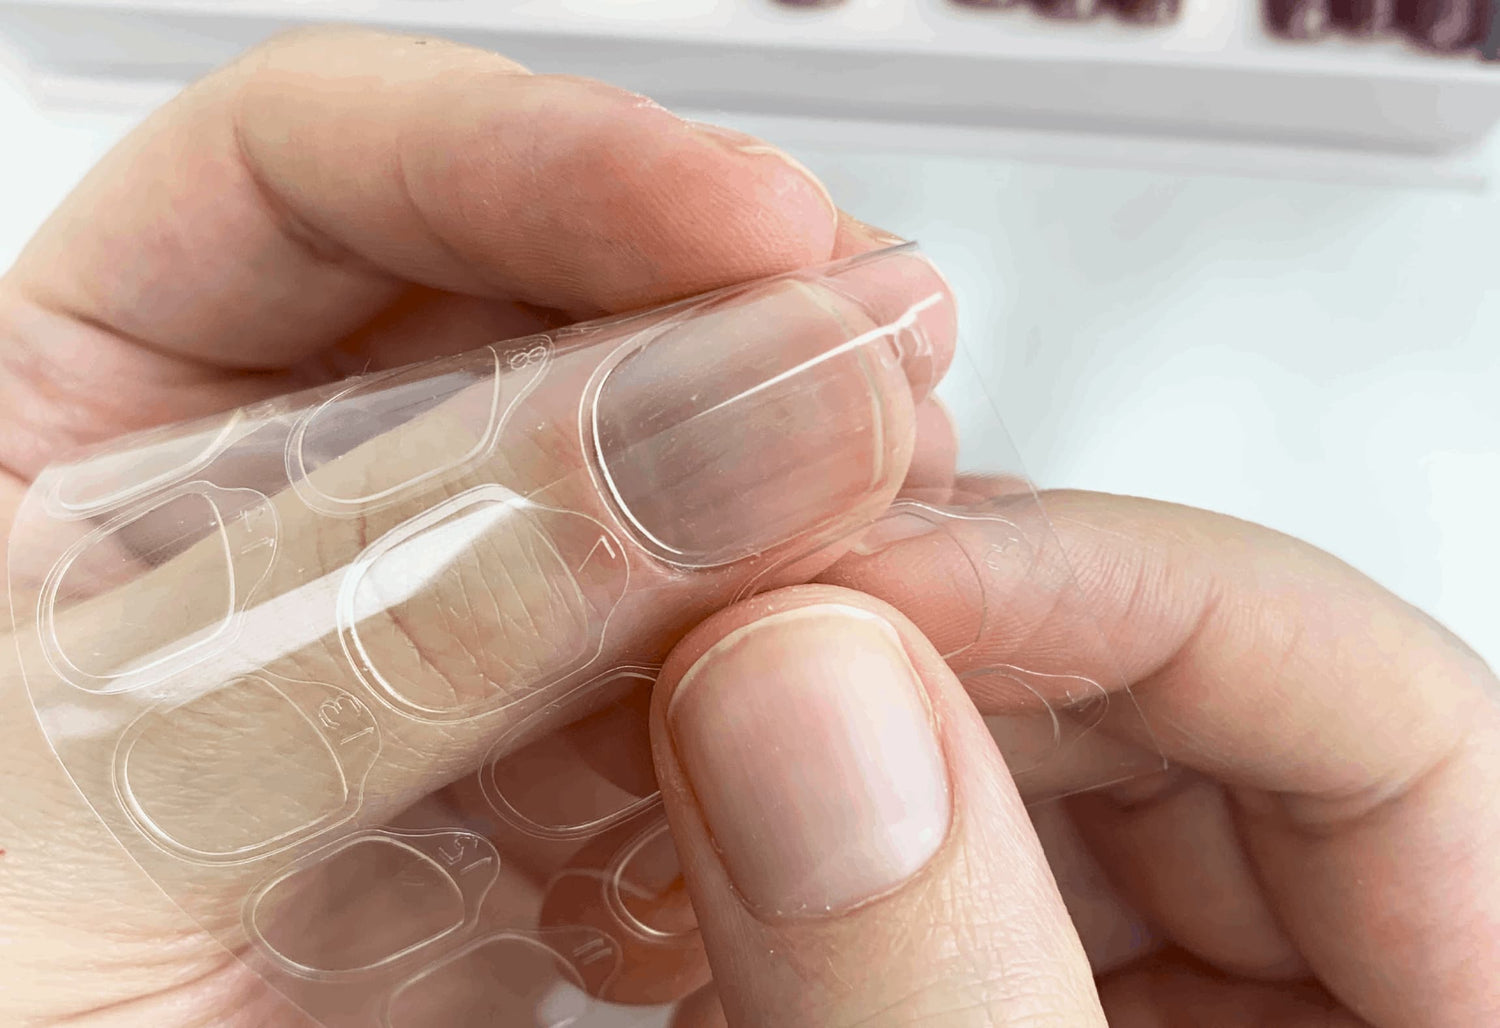
Apply the Gel Pads
Select the correct Gel Pad size for each nail.
🪄 Pro Tip: Warm the Gel Pads between your hands for a few seconds to make them softer and more adhesive.
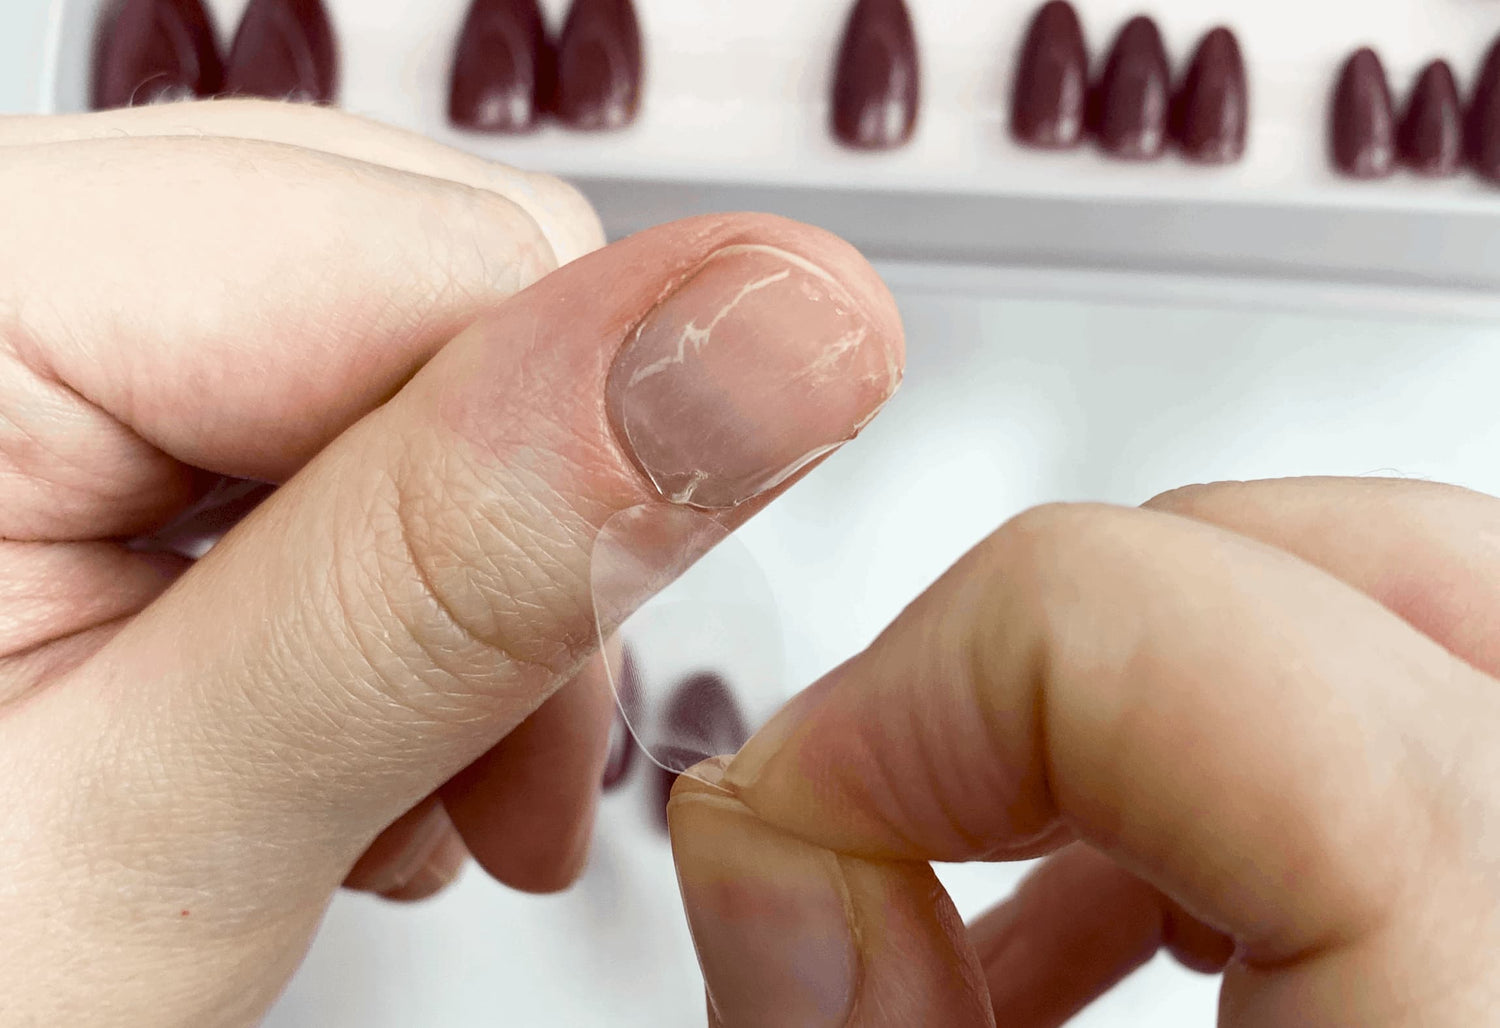
Apply the Gel Pad to the center of your natural nail, pressing firmly to avoid air bubbles.
🪄 Pro Tip: Gently warm the applied Gel Pad again to boost adhesion.
Remove the protective film from the Gel Pad just before applying the Press-On.
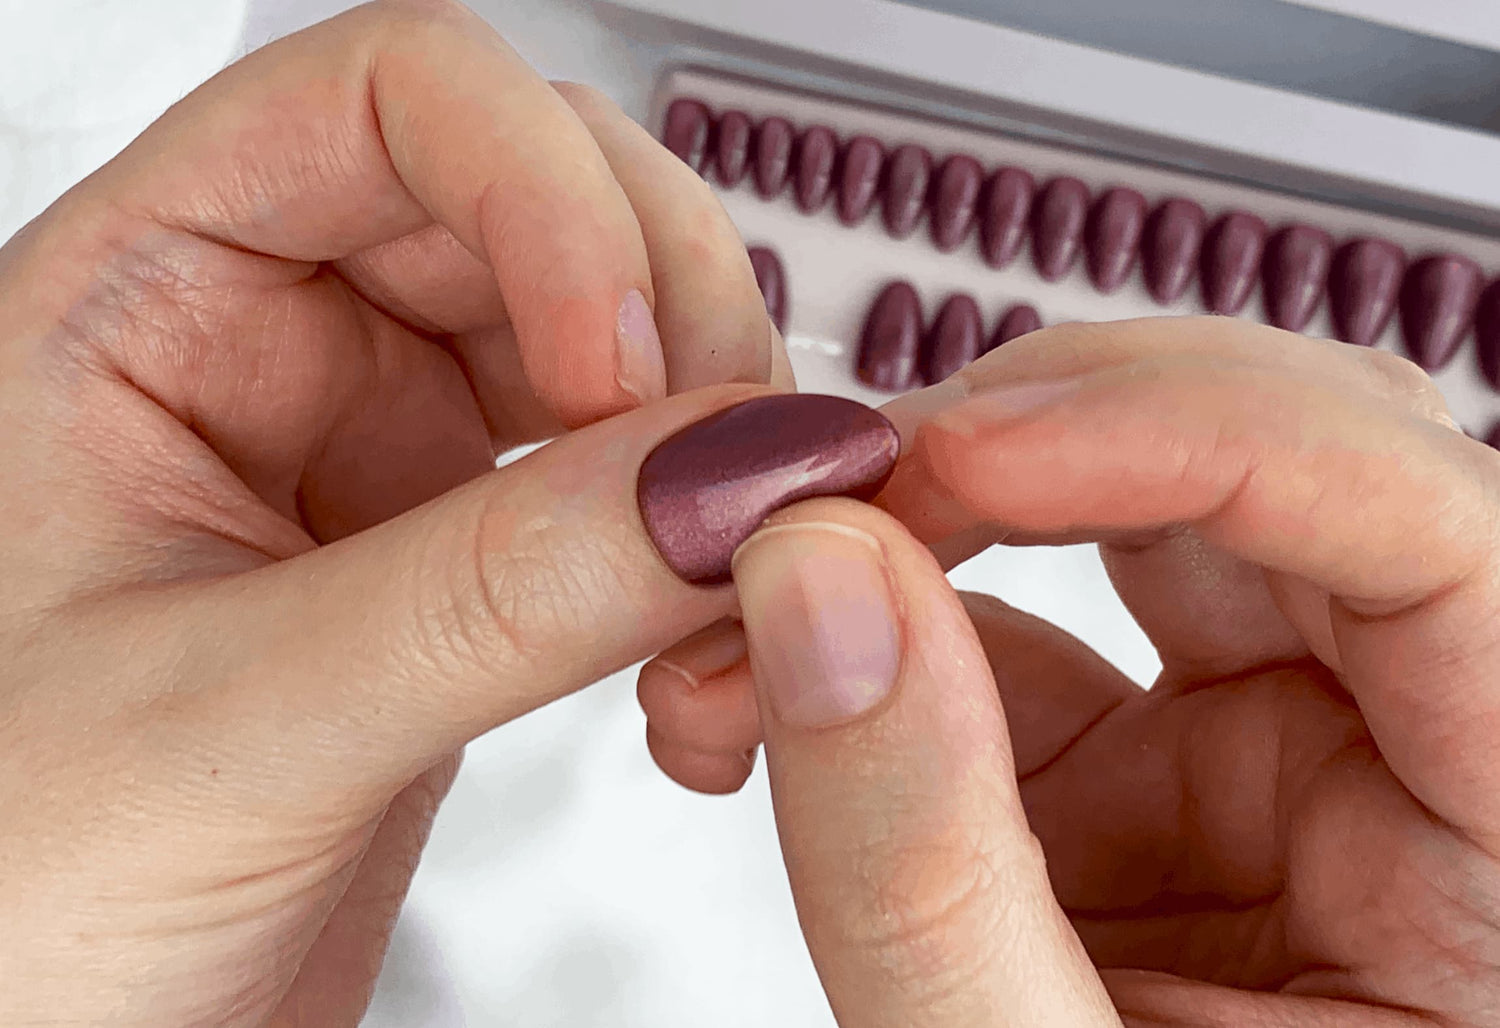
Step 5
Apply the Press-Ons
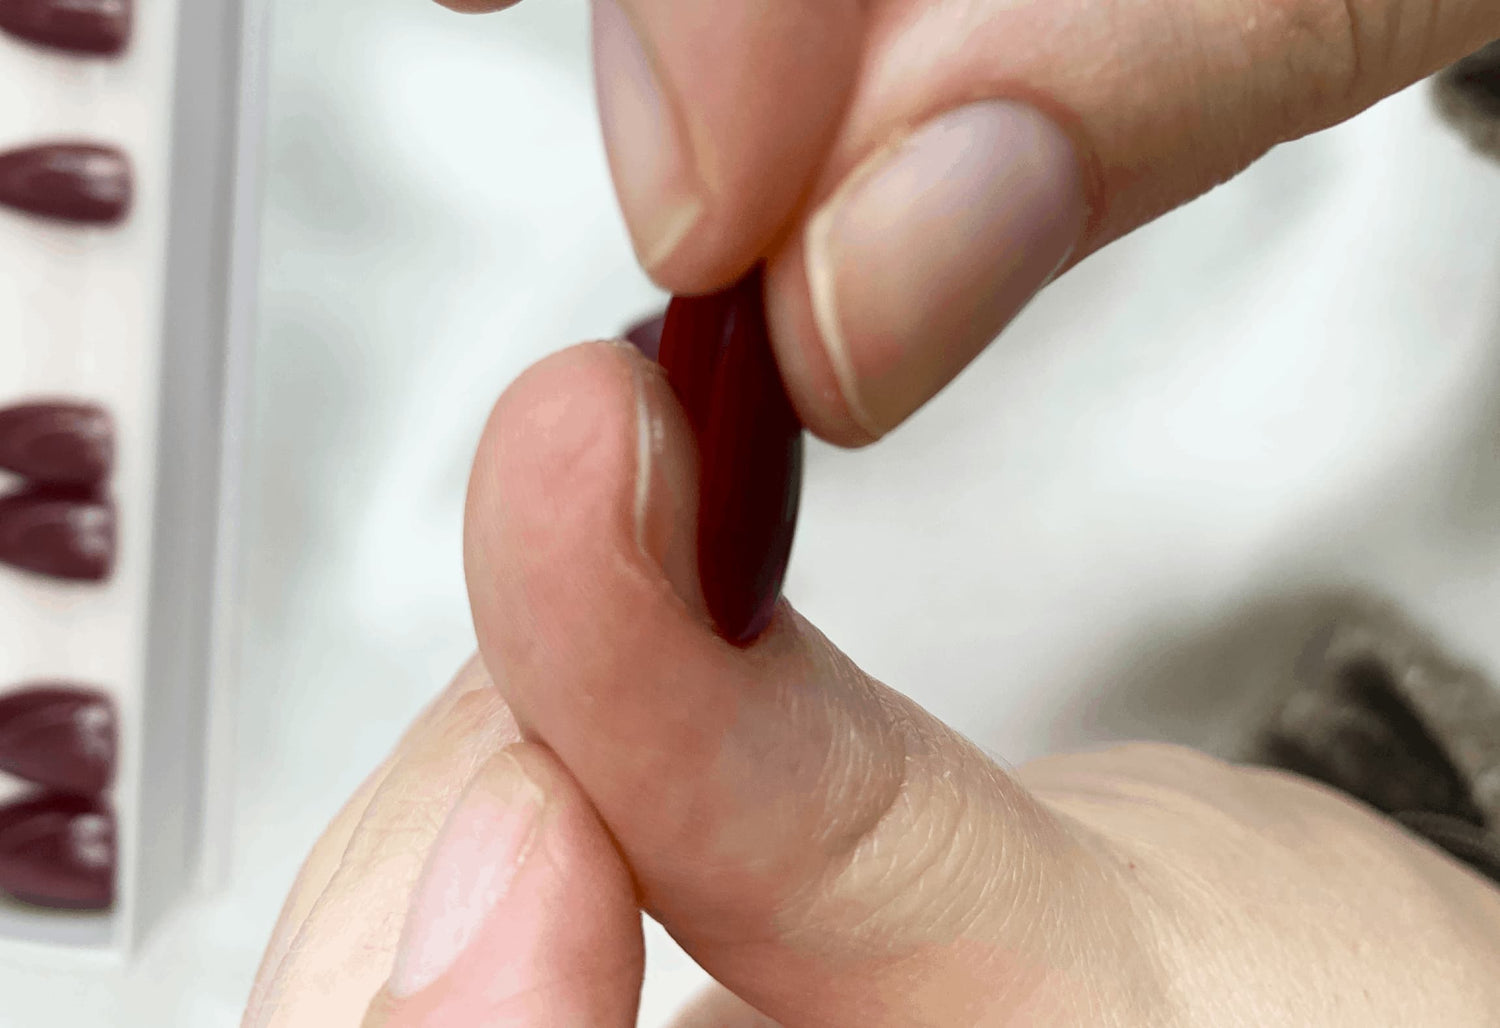
🪄 Pro Tip: Carefully position the Press-On near the cuticle, tilting it at a 45-degree angle.
Gently roll the Press-On down onto the nail and press firmly to secure it in place.
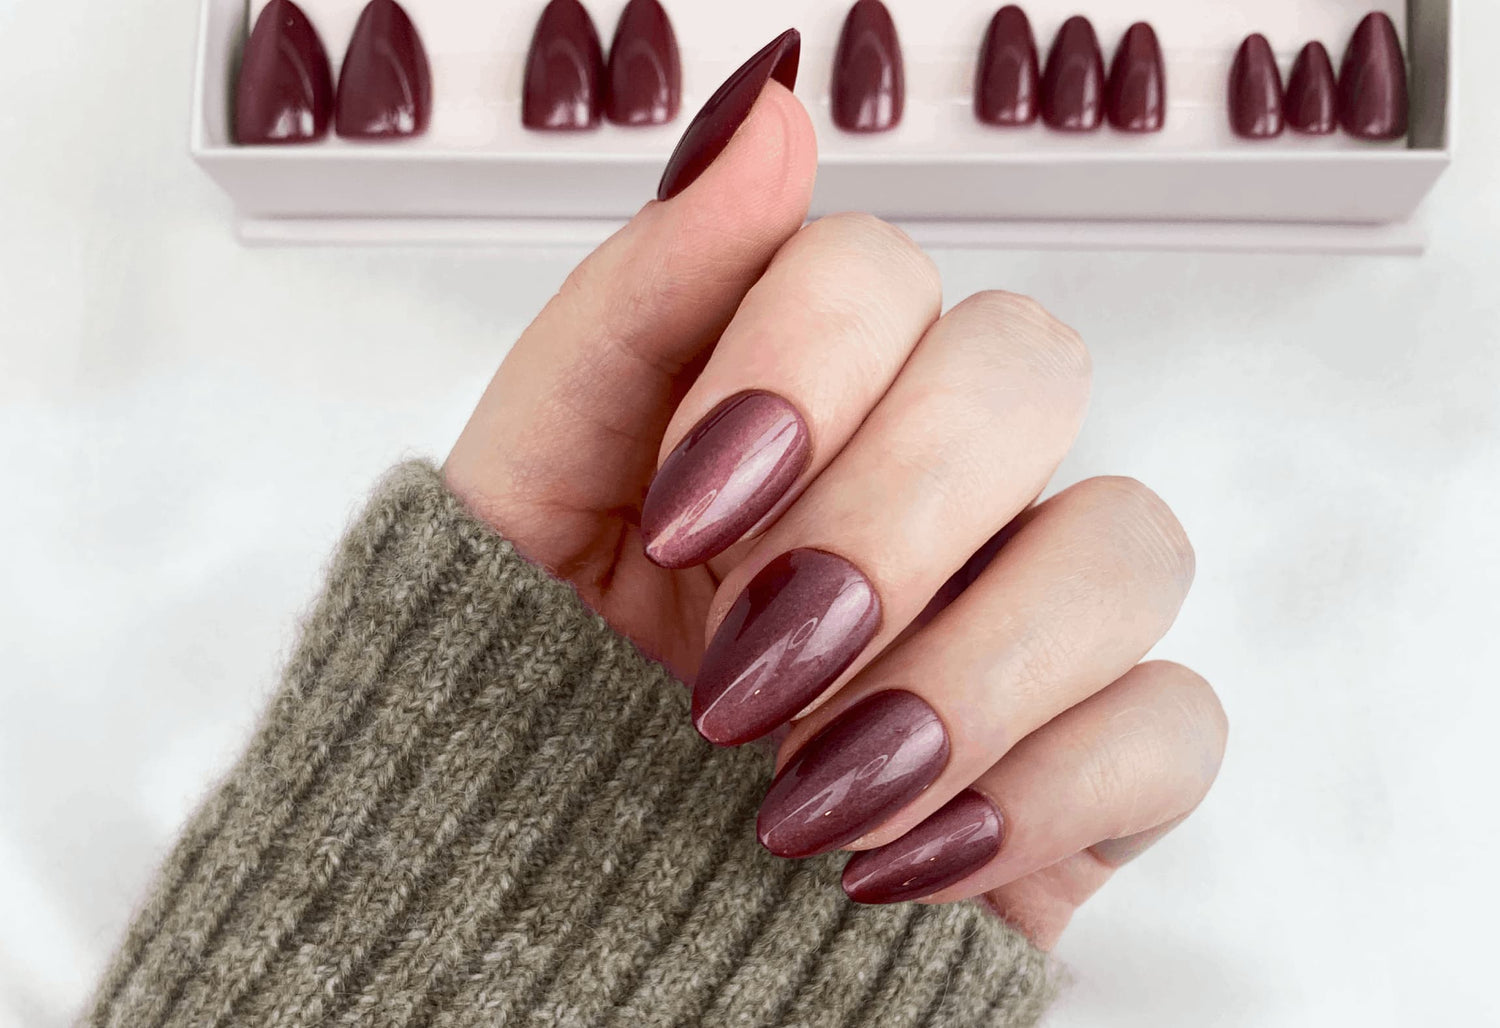
✨ You now have a salon-quality, elegant, and long-lasting manicure, ready to brighten your day!
🪄 Pro Tips by Qeera Nails 🪄
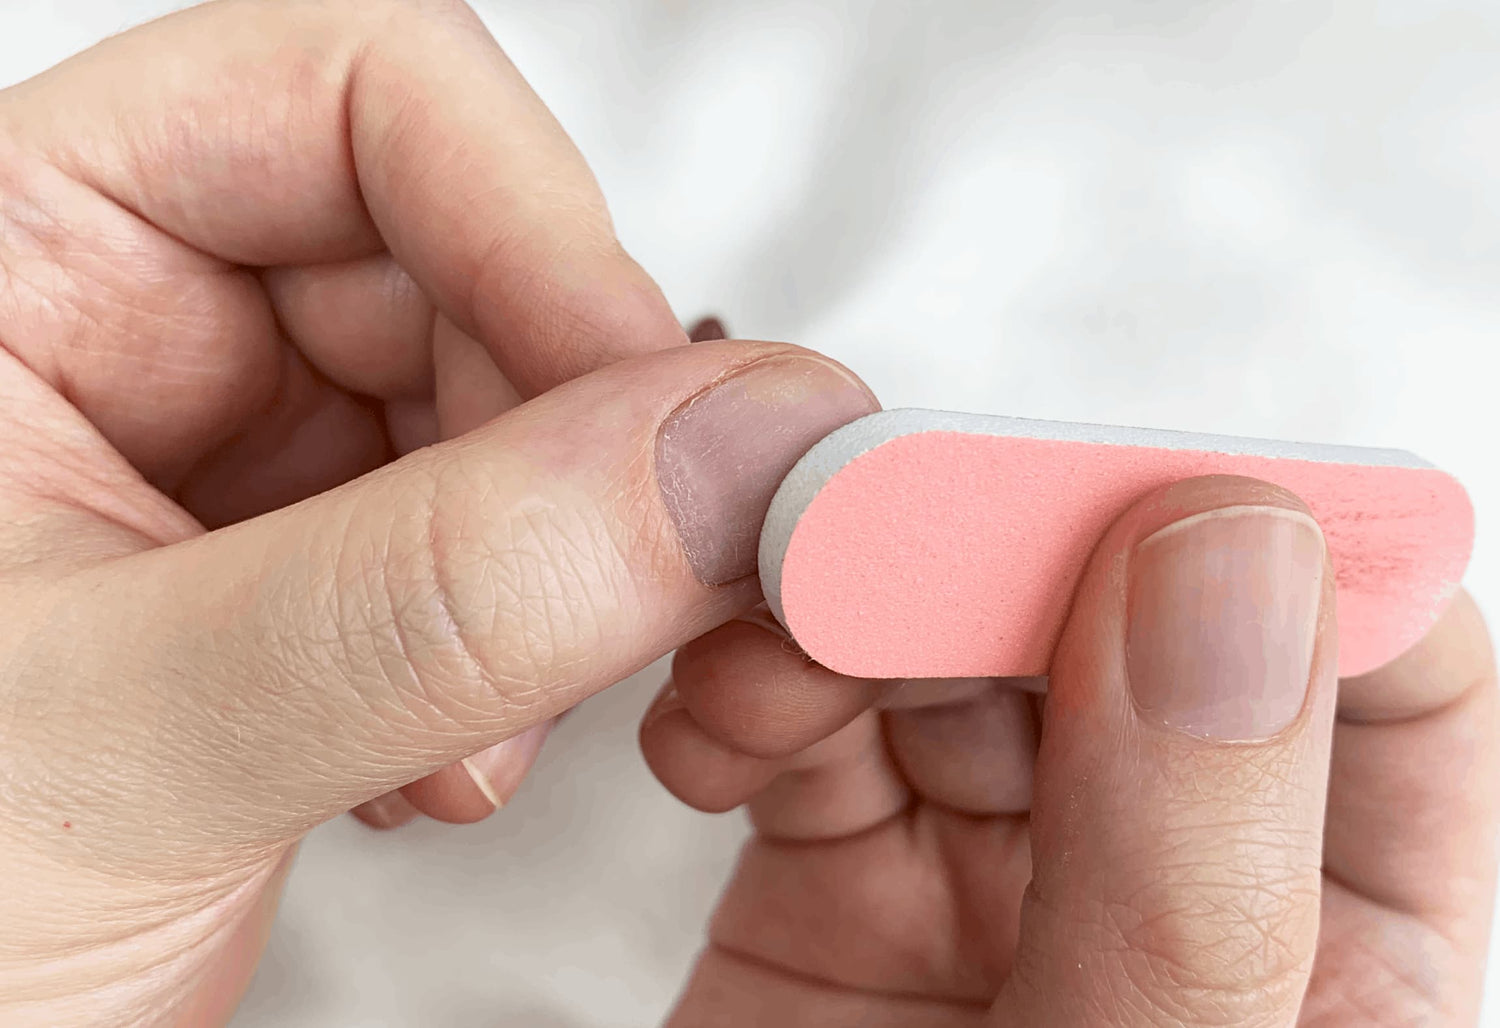
File for a Flawless Finish
Once your press-ons are applied, gently file the top edge of the nail to remove any excess and refine the shape. This extra step adds a professional touch and a more natural, seamless look.
Keep Them Dry for Lasting Hold
For the best adhesion, avoid any contact with water for the first 3 to 5 hours after application.
For best results, apply your nails in the evening before bedtime, it gives the adhesive time to fully set overnight.
"Because flawless results start with the right tools — and the right technique"
Removal Guide
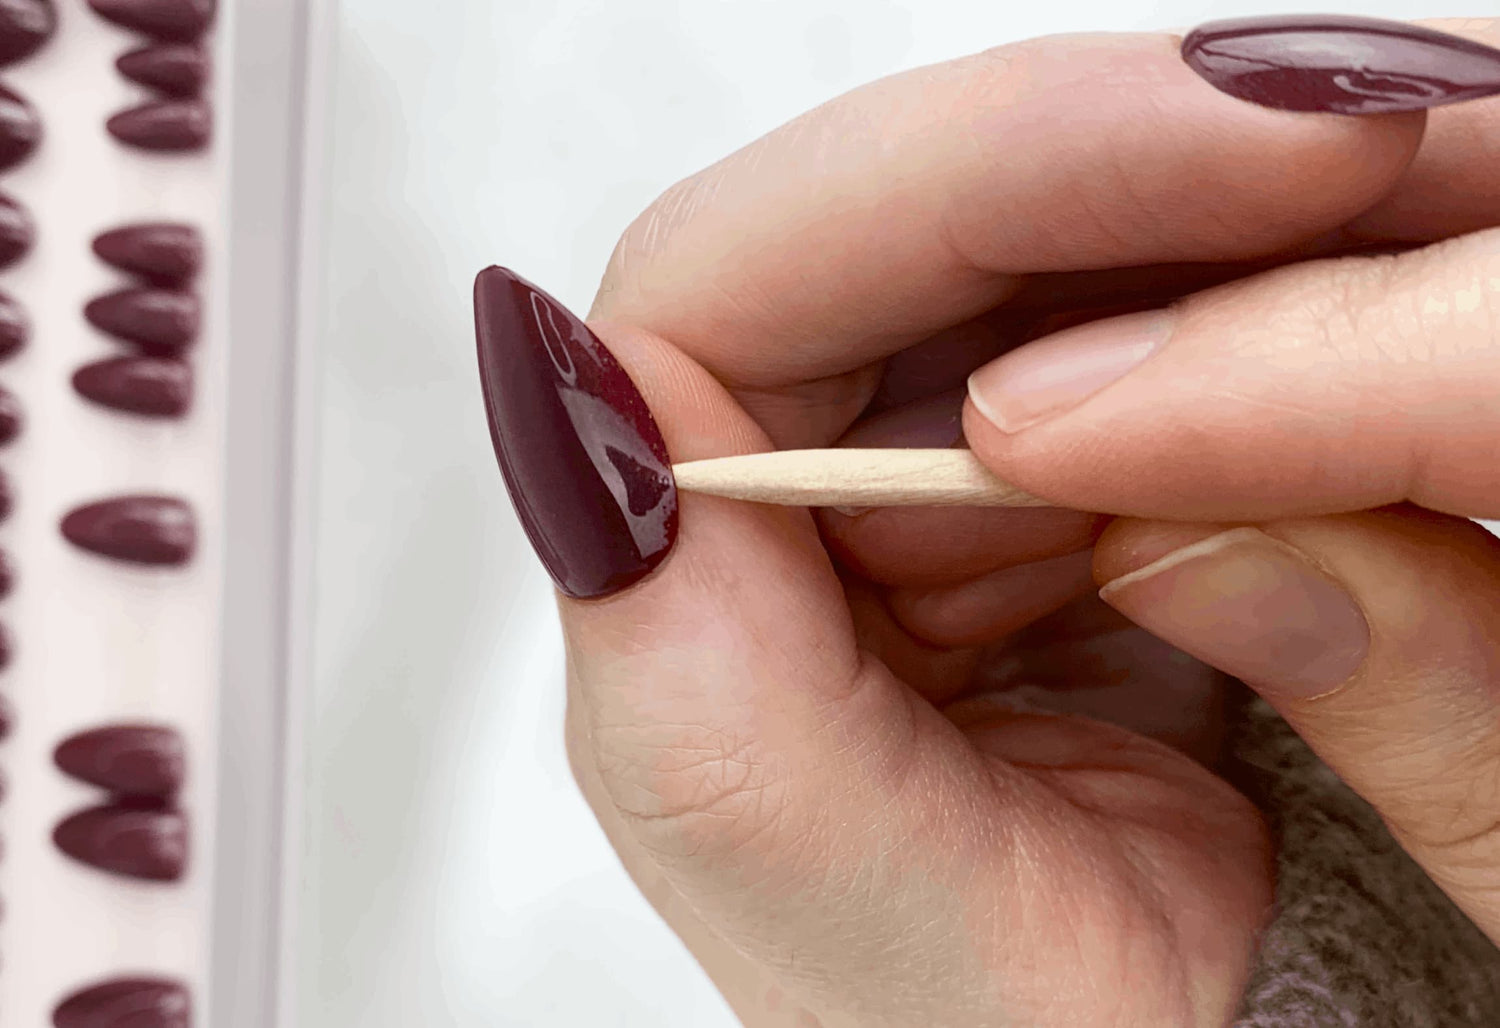
Step 1
Gently Lift
Carefully lift one corner of the Press-On using the provided stick.
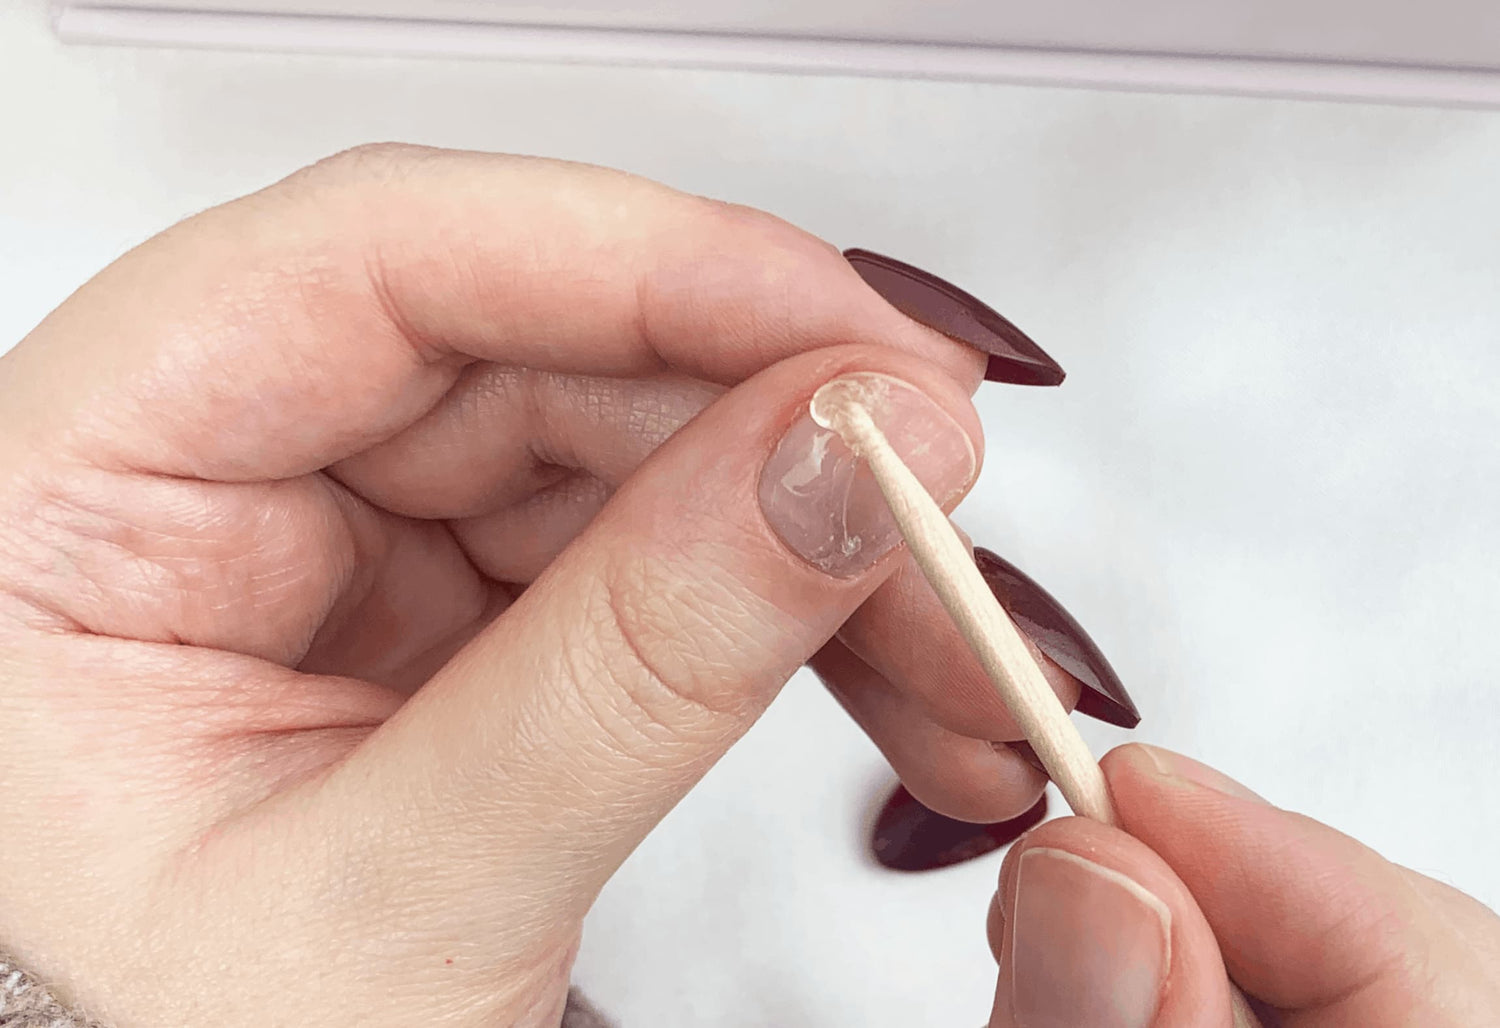
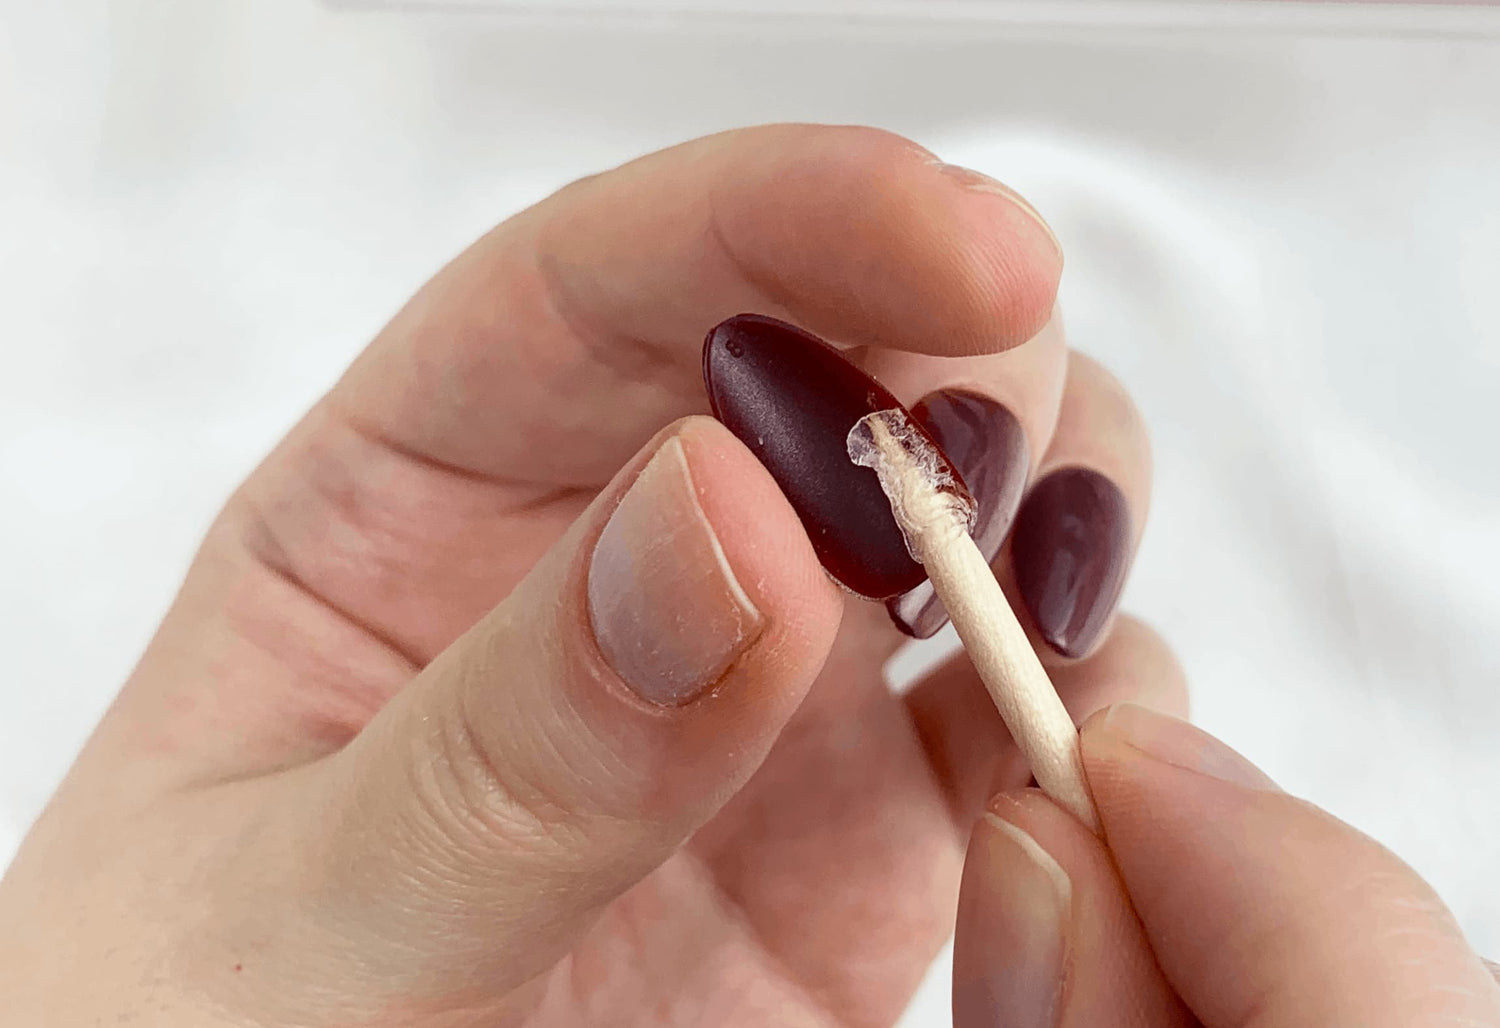
Step 2
Clean Your Nails
Use the manicure stick to gently rub in circular motions over the nail surface to remove any adhesive residue.
Continue using gentle, circular movements to clean both your natural nails and the Press-Ons.
Once the adhesive is removed, wipe the Press-Ons gently with a soft cloth and alcohol to clean them and prepare them for reuse.
Step 3
Store Your Press-Ons
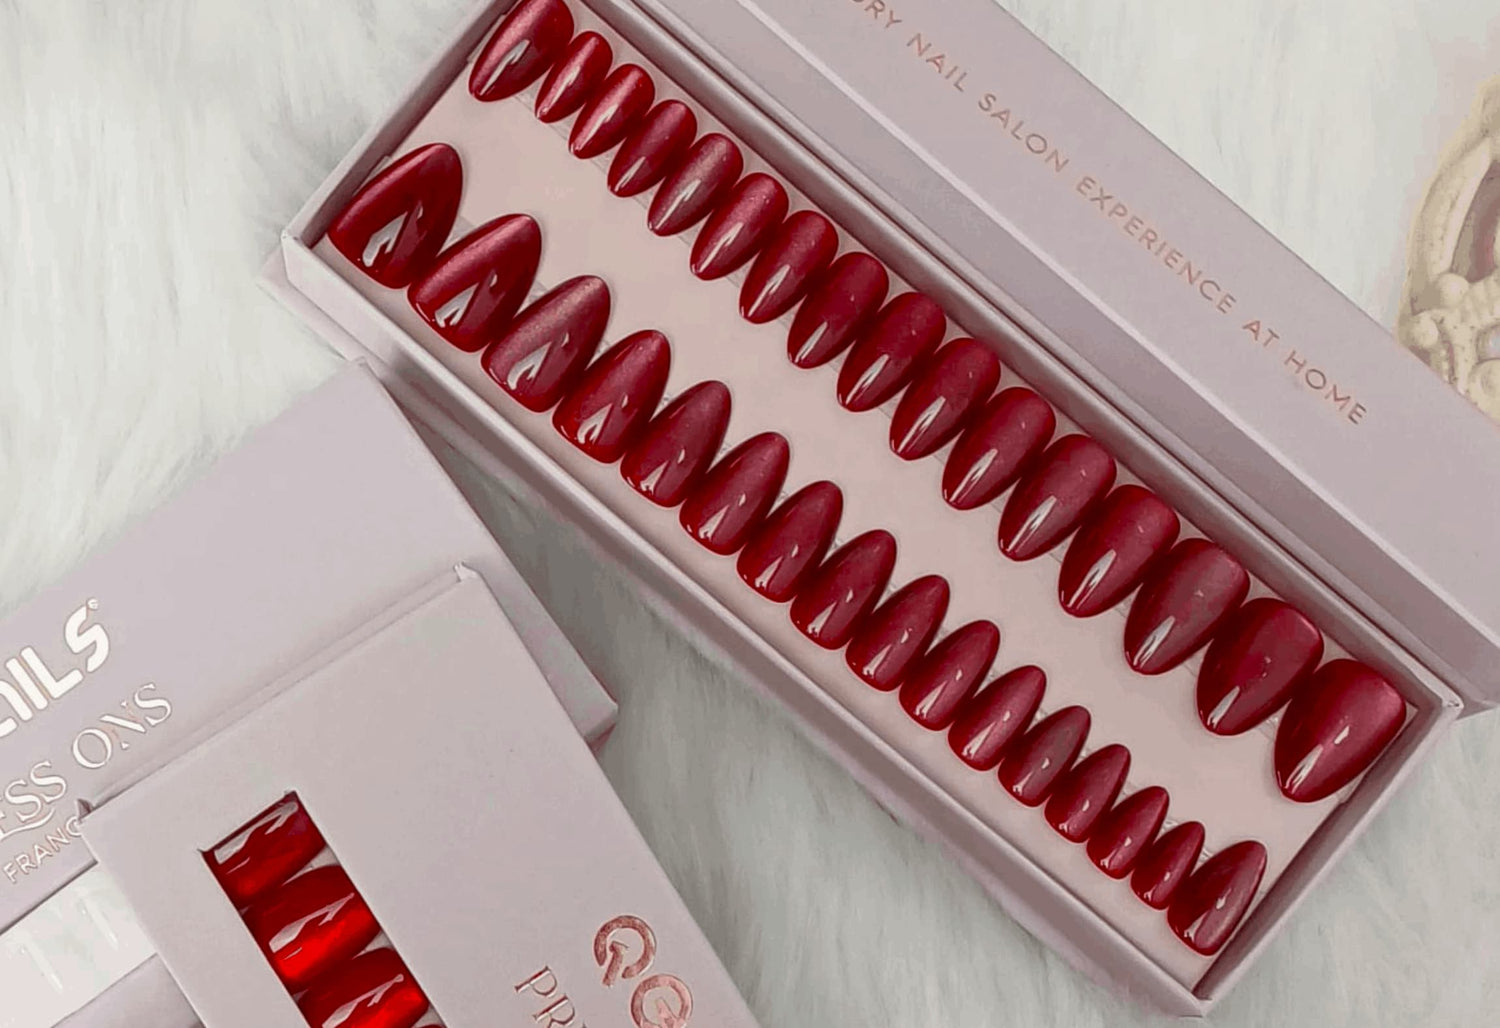
Place your cleaned Press-Ons back into their original box to protect them from dust and damage.
Your Press-Ons are now perfectly clean and stored — ready to shine again for your next special moment! ✨
Looking for an elegant alternative to traditional nail glue?
Meet our Qeera Nails Gel Pads – a clean, gentle, and effortless way to secure your press-on nails with zero mess and no compromise
Still have questions?
Explore our FAQ for answers to the most common topics
Frequently Asked Questions
Fast delivery
Shipped within 24 hours from France, arriving at your door in just 2 to 4 days !
100% Secure Payment
Shop with confidence, your payment is protected by SSL encryption

Dedicated Customer Support
Got a question? We’ll get back to you in less than 24 hours !

Luxury French Quality
Designed for you with elegance, style, and premium craftsmanship